System Settings allows you to configure all system related settings for LPSM. It enables you to configure general settings, SMTP settings, NTP settings, SNMP settings, HTTPS settings, support connection settings and allows you to set the SSH Key Pair for li-admin.
System Settings
Each setting needs to be saved separately before moving on to the next setting.
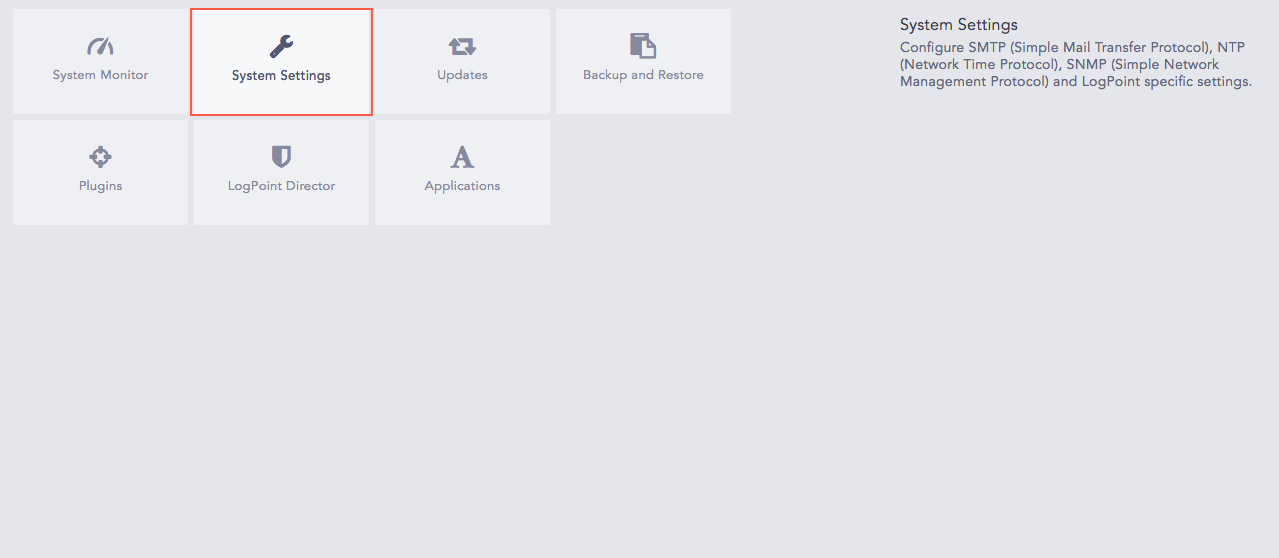
Go to Settings >> System >> System Settings.
Select General.
General System Settings
Enter a Logpoint Name, a Browser tab title, and a Server Alias.
Updating the Server Alias does not update the system IP Address or the DNS. If the Server Alias field is empty, copy the value of the IP field into it.
The Identifier is the unique value given to each Logpoint.
Select Default Login Screen From either Logpoint Authentication or LDAP Authentication. Once a mode of authentication is chosen, the default login screen is always the same unless changed.
In Session Inactivity Timeout, enter the Timeout (minutes) period. If you are inactive for longer than the specified period, you are logged out of the system.
In Remote Request Timeout, enter the Timeout (seconds) period . If the request from LPSM to Logpoint takes longer than the specified period, the request is closed.
Click Save.
SMTP is used to send emails from LPSM for the following:
To send the email for resetting the user password. To reset password, click Forgot Password? on login.
To send the email after the Data Privacy Request has been granted. Go to Email Template for more information.
Note
To receive email alerts specific to Logpoint, you need to configure SMTP on the fabric-enabled Logpoint. Go to SMTP for more information.
To configure SMTP in LPSM:
Go to System >> Settings >> System Settings.
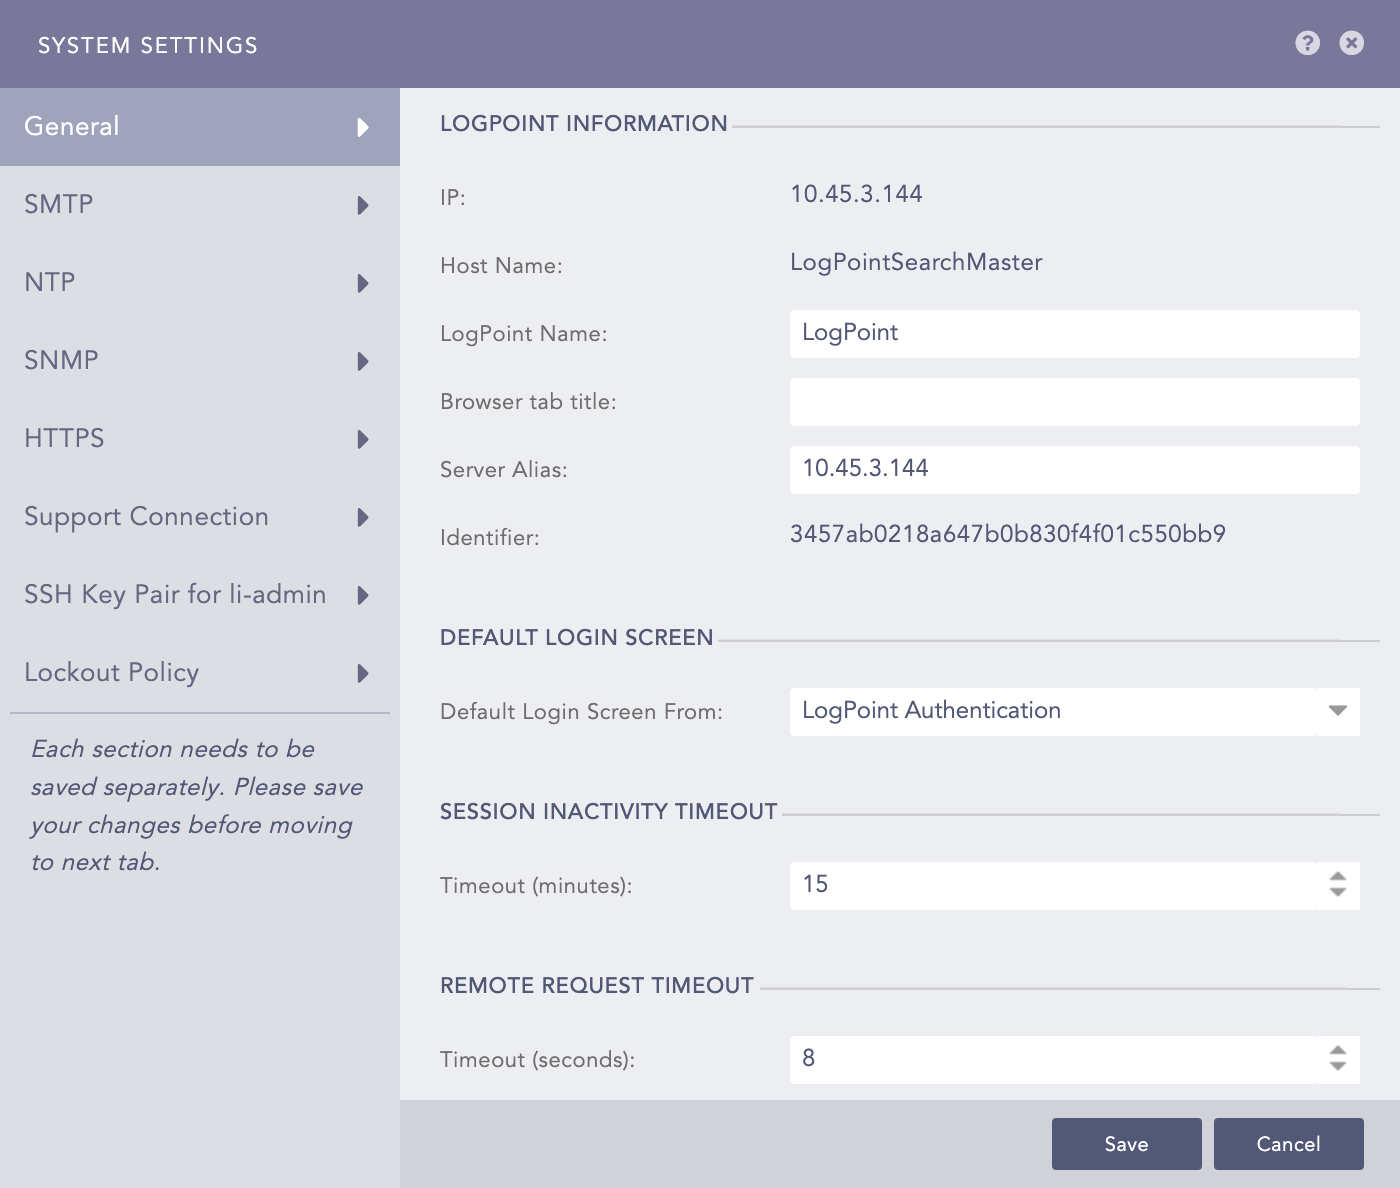
Select SMTP.
SMTP
Enter the Server/Port address to enable SMTP service.
Enter a Sender Name and a Email address.
If you enable the Login Required option, you need to enter the Username and Password.
Click Save.
To test the configuration:
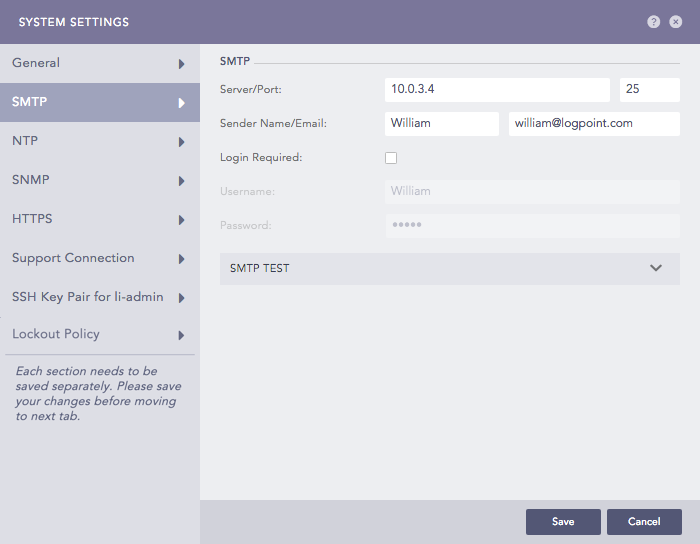
Click the SMTP Test section.
SMTP Test
Enter the Subject of the test email.
Enter an Email address.
Enter a test Message.
Click Test SMTP. The email address mentioned above gets an email if the SMTP setting is configured correctly.
NTP synchronizes the time of your server with a network time server.
Go to Settings >> System >> System Settings.
Select NTP.
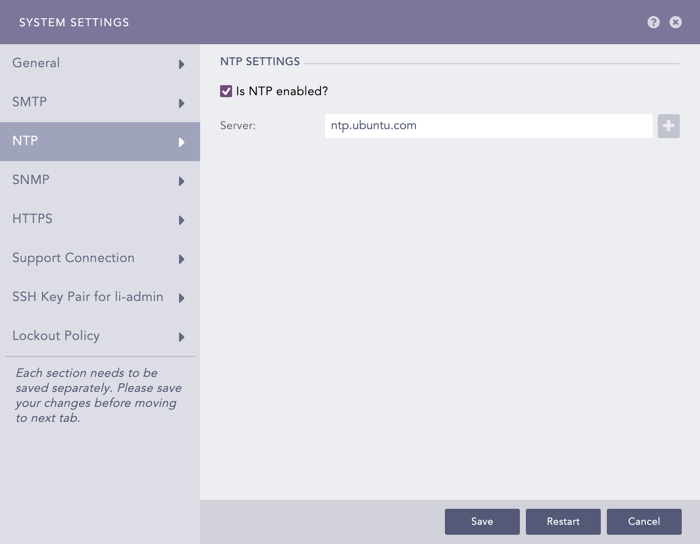
NTP
Check the Is NTP enabled? option.
Enter the Server address. You can add multiple server addresses by clicking the Add ( ) icon.
Click Save.
If you enable the SNMP port, LPSM listens to the OIDs (Object Identifiers) that are forwarded to the 161 port.
Go to Settings >> System >> System Settings.
Select SNMP.
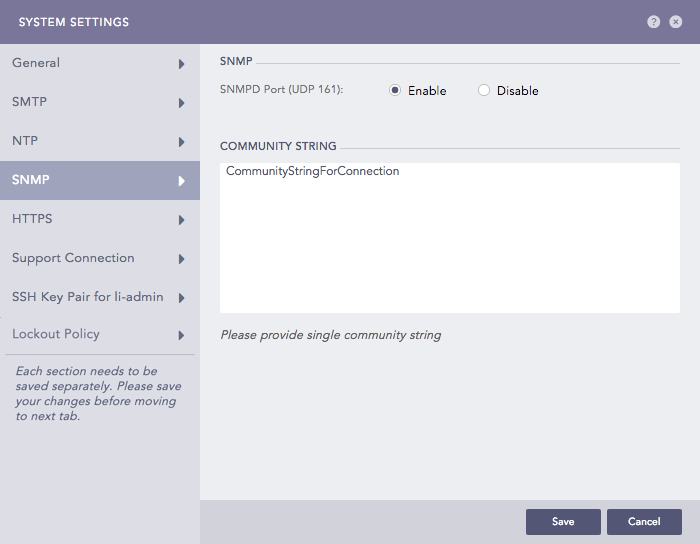
SNMP
Select Enable or Disable SNMPD port (UDP 161).
Enter the Community String if you select Enable.
Click Save.
To know the exposed OID for the LPSM machine, run the snmpwalk command snmpwalk -v 2c -c public <ip_of_Logpoint Search Master>.
The HTTPS service authenticates LPSM and prevents eavesdroppers from accessing the data in the network. HTTPS secures the server connection so that the LPSM users can safely access it from the internet.
Go to Settings >> System >> System Settings.
Select HTTPS.
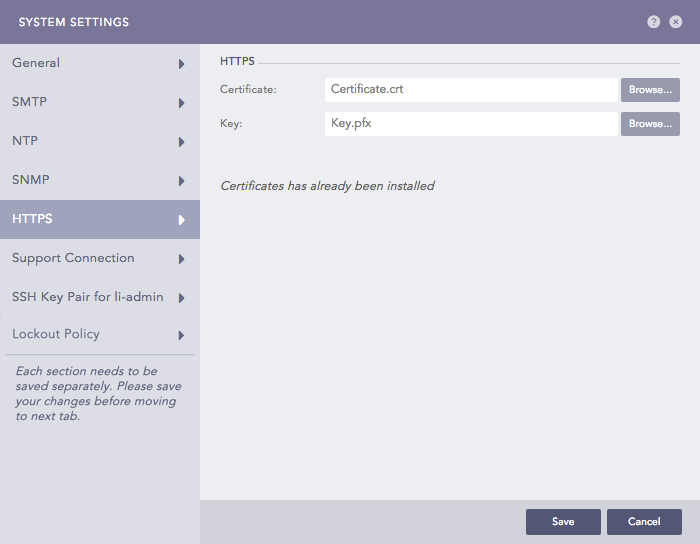
HTTPS
Browse for the HTTPS Certificate and Key, and upload them.
Click Save.
Support Connection creates an encrypted end-to-end communication channel between the Logpoint Search Master and the Logpoint Support. It is used by the Logpoint Support team to understand, troubleshoot, and fix issues with your deployment.
Before enabling the support connection, make sure that your firewall is not blocking the connection from the LPSM to reverse.logpoint.com on port 1193/UDP.
Go to Settings >> System >> System Settings.
Select Support Connection.

Support Connection
Check the Enable Support Connection checkbox.
Enter the Support Connection Enable Duration. The support session expires after the duration exceeds.
Support connection stays enabled if:
You select 0:0:0 as the time duration.
You check the Enable Support Connection Forever checkbox.
Click Save.
An LPSM Administrator can generate SSH certificates for the li-admin user to access the LPSM through the console.
Go to Settings >> System >> System Settings.
Select SSH Key Pair for li-admin.
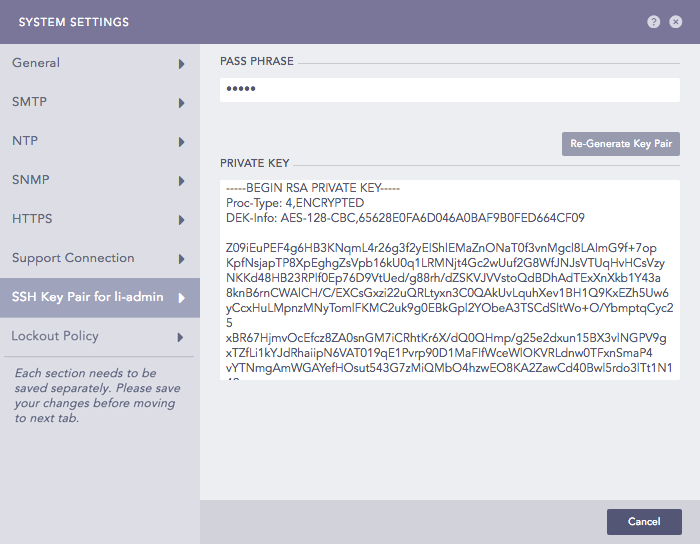
SSH Key Pair for li-admin
Enter a PASS PHRASE.
Click Re-Generate Key Pair.
Copy the Private Key and save it in a file.
Use the following command to make the key accessible for an SSH connection:
chmod 400 <filename>
Use the following command to establish an SSH connection:
ssh -i <filename> li-admin@<LPSM_Server_IP>
Enter the PASS PHRASE to establish the SSH connection from the remote device.
The Lockout Policy lets you control user login and password security attributes. LPSM locks your account for a specific lockout duration if you make multiple failed login attempts.
Lockout threshold: The Lockout threshold determines the number of failed login attempts that cause a user account to be locked. By default, the lockout threshold value is five. You can set a threshold value from 0 to 999, where 0 means a user account is never locked.
After three consecutive failed login attempts, you need to enter a CAPTCHA in addition to the username and password. If you make additional unsuccessful login attempts, that is, if you enter a wrong username, password, or CAPTCHA and reach the specified lockout threshold, your account is locked out for the specified lockout duration.
Lockout duration: The Lockout duration determines the number of minutes that an account remains locked out. By default, the lockout duration value is 30 minutes. After the lockout duration is over, you get one more login attempt. If this attempt fails, your account is locked for an additional specified lockout period. This process continues until you login with valid credentials. You can set a lockout duration value from 1 to 99999.
After a user is locked out, a User Locked icon appears in the Actions column of the respective user under Settings >> User Accounts >> Users. The LPSM administrator can unlock the locked users by clicking the icon.
Go to Settings >> System >> System Settings.
Select Lockout Policy.

Configuring Lockout Policy
Enter the Lockout threshold. By default, the lockout threshold value is set to 5.
Enter the Lockout duration (in minutes). By default, the lockout duration value is set to 30 minutes.
Click Reset to reset the values to default.
Click Submit.